Pinecone Christmas Tree Decoration
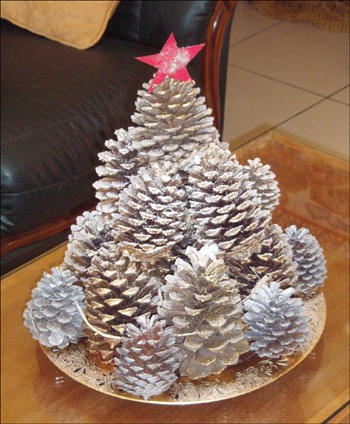
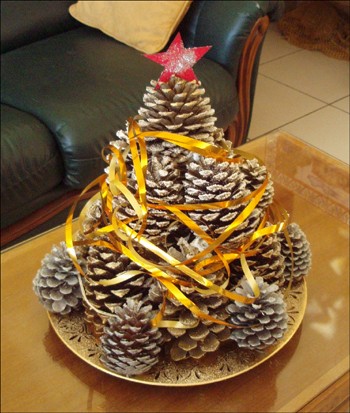
This DIY pinecone Christmas tree will be the center of attention when you display this beautiful Christmas decoration!
Materials Needed:
- Pinecones
- Gold spray paint
- Silver spray paint
- A golden dish (or you can cover with gold foil)
- A glue gun
- Newspaper
- Red drawing paper
- Scissors
Picking up pinecones:
You first need to find pinecones for this project. Sometimes you can find them at craft stores.
This is an opportunity to take a little family walk in nature. Bring a bag big enough for the pinecones you will find. Choose some pretty shapes and different sizes so that you have a choice when assembling your tree. Pick up at least 6 large pine cones, 6 medium and 8 small.
Before you start tinkering with your pinecones be sure to cover your work space with newspaper for this fun project!
Steps for making a pinecone Christmas tree:
- On your gold or silver dish, arrange the first level with your largest pinecones. When you have found the right arrangement, glue them together.
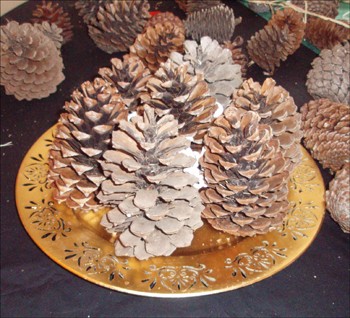
- Once the first level is dry, use the medium size pinecones to create the second level of the tree. Once you have placed the pine cones the way you like, glue them together.
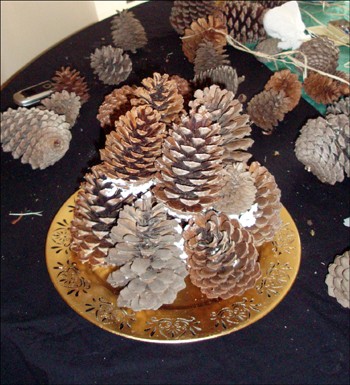
- To finalize your tree, glue one last medium size pinecone at the top center.
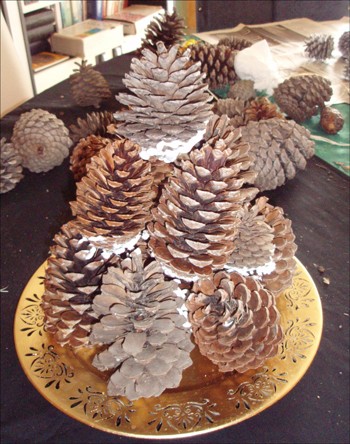
- Once the glue is dry, spray with gold or silver paint color all over your tree.
- While the paint dries, take 5 or 6 small pine cones and cover them with the gold or silver paint. Let them dry and place them in the dish around the Christmas tree, as shown in the photo.
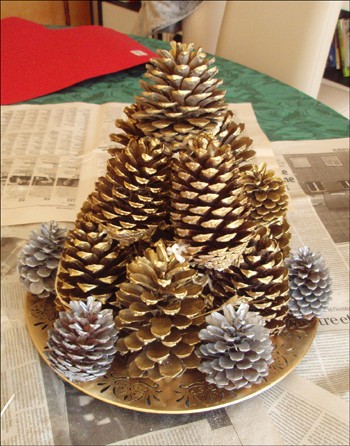
- For your Christmas tree to be complete you need to add a star at the top. Cut it out in the red drawing paper, sprinkle with gold sparkles and then slip it into the pine cone at the top.

- Finally, if you have a can of artificial snow, you can spray a little on the entire tree. Cover with ribbon or any other decoration you find festive.
