How to draw a tiger
Learn how to draw a cute little tiger of your very own.
You will need:
- Pencil
- Pen
- Eraser
- Paper
- Colored pencils or crayons
- Ruler (suggested)
Jeff's Tips & Ideas : Use lightly sketched pencil lines first for the structure. After, use a pen to draw in the final lines. When you're finished, erase the underlying pencil lines to reveal your drawing. Then - color it!
Let's start! Follow step by step our easy indications below !
STEP 1
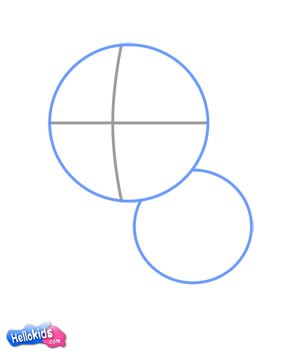
Begin with a simple framework of basic shapes and lines. Notice how big the head is... all part of making it a 'cute' tiger! :-)
STEP 2
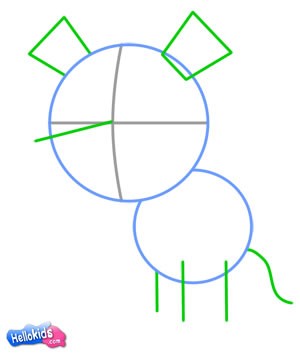
Add some defining features (green) in the form of simple lines and shapes.
STEP 3
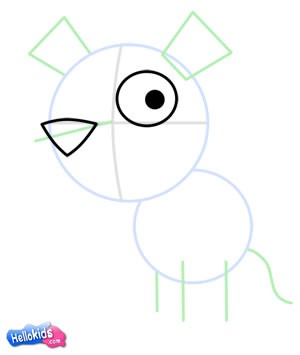
Draw the left eye and the nose.
STEP 4
Mirror over to the right eye. Notice --- it's a bit smaller than the left. Think - 3/4 head turn.
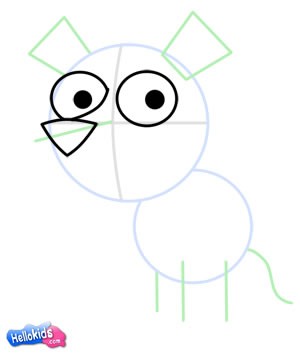
STEP 5
Now draw the upper part of the muzzle.
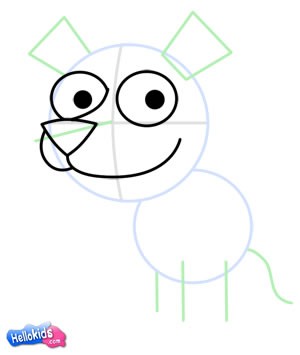
STEP 6
Finish the bottom of the mouth - teeth, tongue and all.
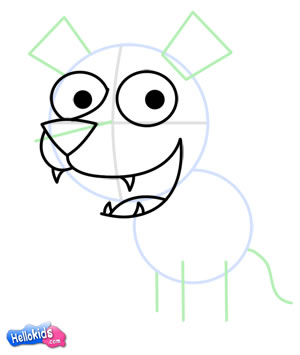
STEP 7
Bring into view - the overall shape of the head.
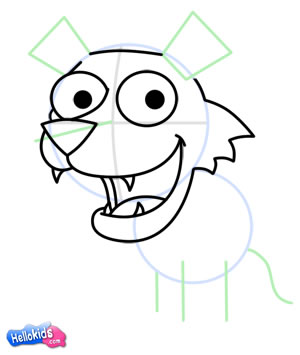
STEP 8
Balance out the head with ears, and the far right (your left!) tuft of cheek fur.
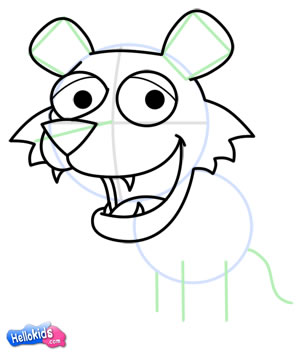
STEP 9
Start off the legs... simple lines!
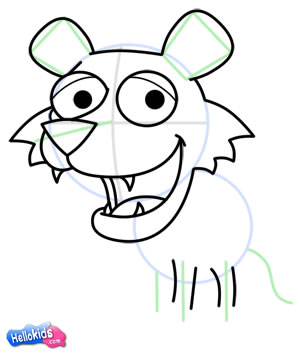
STEP 10
Big paws!
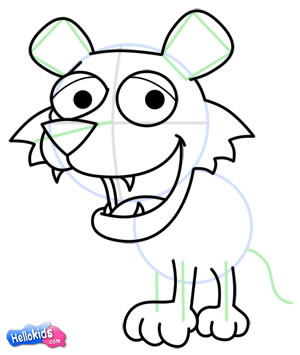
STEP 11
Bring the belly into view...
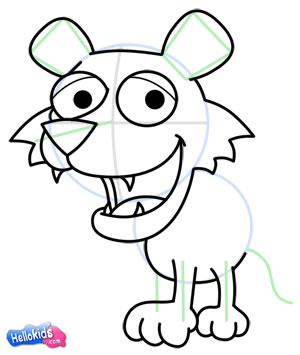
STEP 12
And then do the same with the tail and back. Mirror the legs and paws from left to right - the tiger being the subject.
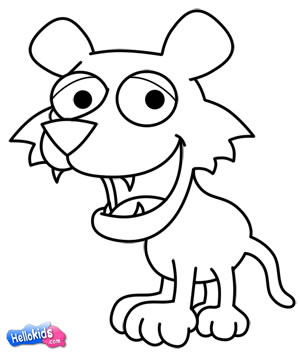
A dash of the right colors (pattern taken into account!)... and we've got a cute little cartoon tiger. Hope you had fun! :-)
Here is a drawing of a cute tiger made by Jeff Scarterfield ! For more lessons by Jeff, check out his website at How-to-Draw-Cartoons-Online.com.
Happy Drawing! :-)


