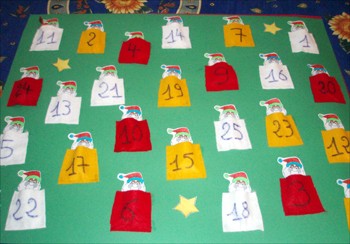
How to make a felt Advent Calendar
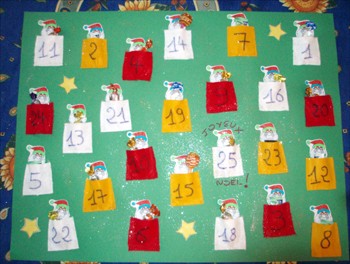
To make your felt Advent Calendar you need
- 1 large sheet of green cardboard
- 3 different colors of felt (in our example red, yellow and white)
- Small scissors and normal scissors
- Markers, crayons and glue
- Multi-colored sequins
- Hairspray
First steps to make your calendar
- First print two copies of Santa Claus page (bottom of this page).
- Cut all shapes using small scissors. You should end up with 25 Santa's faces (one is extra, as a doble if needed) and 4 evening stars.
- Color or paint all Santa's faces and stars.

- Now cut 25 felt squares of different colors to make the 25 daily gift bags, size 2.5 x 2.5 inches.
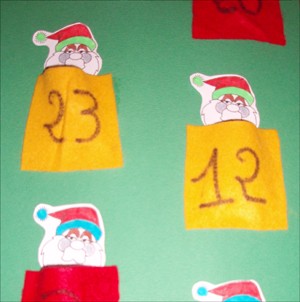
- Each felt square gets a number 1 - 25 written on it for each day with a permanent red marker.
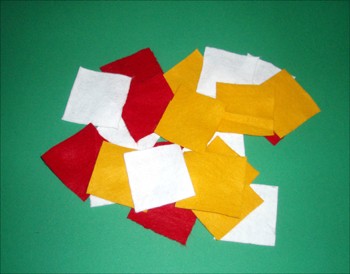
- Place 25 Santa's faces on the cardboard, and add a square of felt fabric over each one.
- To make your homemade Advent Calendar more fun don't write the numbers in numerical order! Place the 1 number in the top left-hand corner of the calendar, and the 2 in bottom right-hand corner and so forth.
- Once your calendar map is ready (face + felt), you can glue each gift bag. Santa first, then the bottom and 2 sides of the felt square piece (keep the topside free of glue to be able to slide a surprise inside).
- Let dry for 1 or 2 hours at least.
- For the most important day of December, being the 25th, add "Merry Christmas".
- Glue the 4 stars around your calendar.
- Use glue to add the multi-colored sequins.
- Use hairspray on each pocket, spraying at least 10 inches away (otherwise it would leave marks on the cardboard) giving your calendar a shiny look.
- Wait while the lacquer dries.
- Now hang your advent calendar, and ask your Parent(s) to fill each pocket with surprises you will discover each day of December until Christmas Eve!
