

Draw Shadows
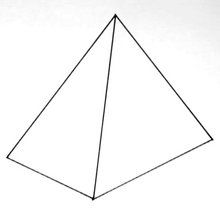 Draw a Pyramid
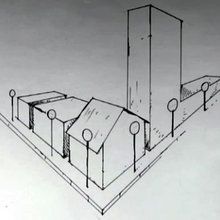 Draw a Street in perspective
 Draw a House in perspective
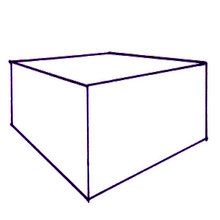 Draw a Cube
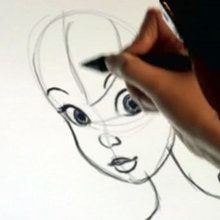 How To Draw Tinkerbell
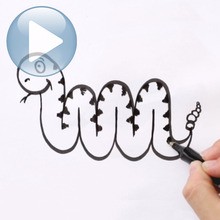 Draw a Snake starting from letter M
 Drawing Facial Expressions: Fear
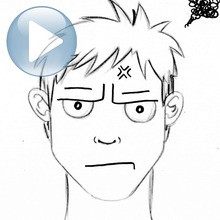 Draw A Facial Expression: Irritation
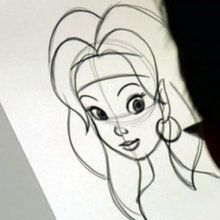 Learn to Draw Zarina the Pirate Fairy
 Draw a Facial Expression: Sad
 Draw Facial Expressions: Laughter
 Drawing hair: The High Ponytail
Drawing Shadows:
In this drawing lesson, you'll see how easy it is to create shadows on an objects.
Watch the video lesson "cube in 3D" and this will serve as the basis of your work for drawing shadows.
Then he'll have to imagine where you want to place the light. In the video, the designer decided to put the light on the left, but you can choose any side.
Look carefully at the video, you will see that the construction lines of the cube are longer than necessary. They will be used at the end to draw the boundaries of the projected cube shadow on the ground.
Also, do not forget that the shadow on objects does not project only on the ground. The side opposite to the light is darkened.