The 4 Elements Origami Infinite Flipper
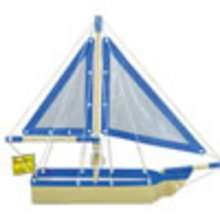
Materials Needed:
- Thick paper ( Cardstock )
- Scissors
- Double-sided tape
- Glue tube
How to make the 4 elements origami flipper:
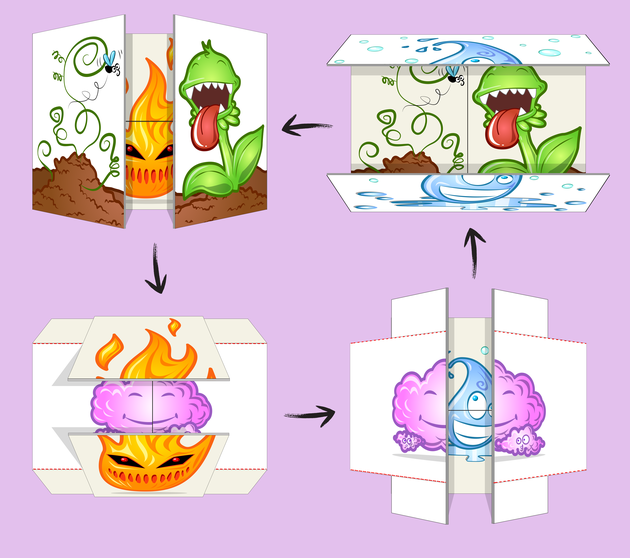
This activity will enable you to achieve a real magic card representing the four elements! When handling, you can see unfold before your eyes 4 different illustrations! This paper craft flips over and over and over. This is called an infinite flipper.
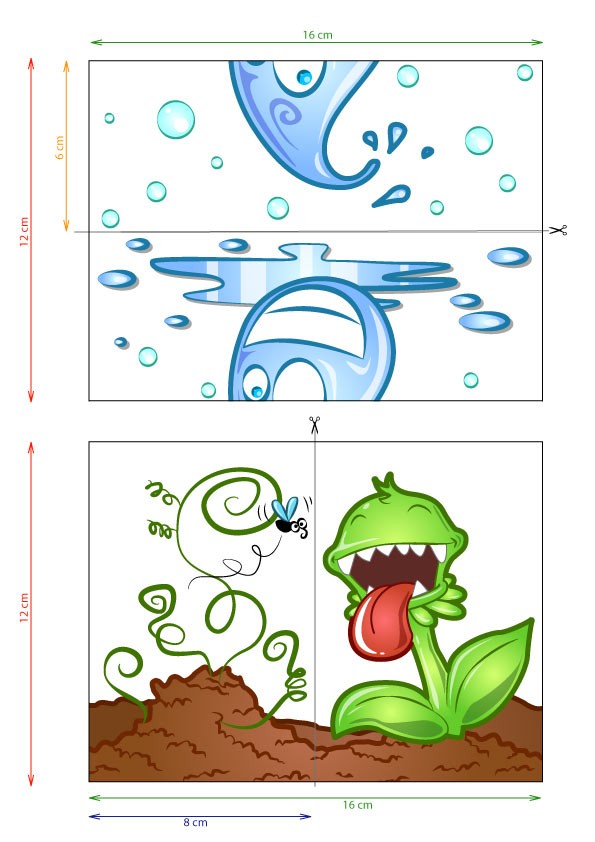
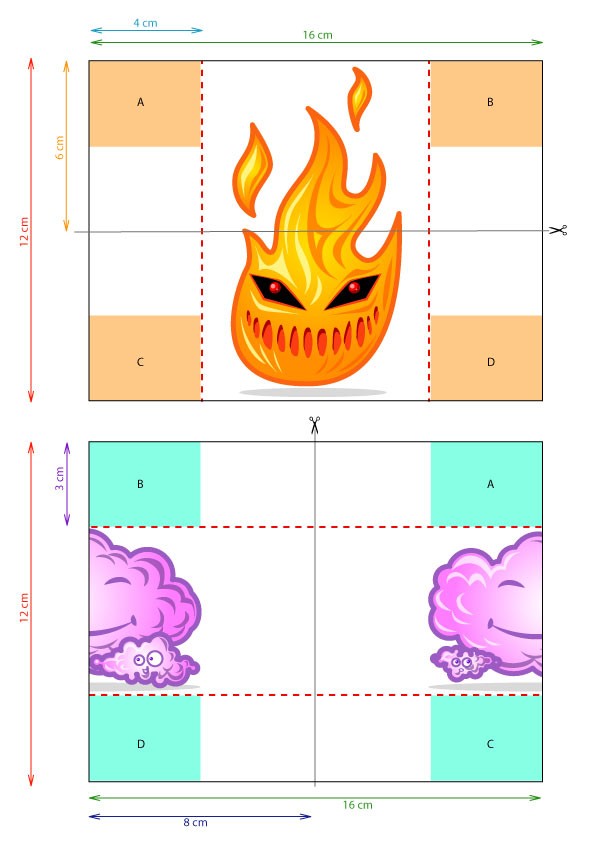
For the realization of this card, you'll need two images at the bottom of the page.
- On Cardstock paper, print the 2 images at the bottom of this page.
- Cut 4 separate frames containing illustrations. ( You need to cut the black edges. )
- Take part of the pink cloud (the air element)and glue the back to the place on part of the carnivorous plant (earth element).
- Then, fold the sheet on each red dotted line. ( When you look at the pink cloud, both must fold towards you ).
- Then cut the sheet in half, vertically, along the gray line .
- You'll do almost the same way for the other two illustrations. Take part of the fire and glue the back, upside down this time under the water drop.
- Then, fold the sheet on each red dotted line. ( When you look at the fire, the two plies are away from you ).
- Then cutting the sheet into two halves in the horizontal direction, along the gray line . You now have 4 pieces of paper and you 'll be able to go to the last step to realize the infinite card.
- Place double-sided tape on each rectangular area orange .
- A blue rectangle glue on the orange rectangle A.
- Glue the blue rectangle on the orange rectangle B.
- Glue the blue rectangle on the orange rectangle C.
- Glue the blue rectangle on the orange rectangle D.
That's it, your origami infinite elements map is completed! When you fold as pictured at the top of this page, you can bring up successively the 4 elements while the card has only two sides, it's magic!
