Yarn Dolls
Material
- Wooden ball 2 inches (5.5 cm) hole in the middle 1 inch (2.5 cm)
- Cardboard box of a board game (about 15x12 inches)
- Leftover yarn
- Piece of fabric (18x5 inches)
- Scissors - toothed
- Scissors - regular
- Ruler
- Glue
- Needle
- Sewing thread
- Paint pens to draw on wood
- Glass of water
- Clear varnish
- Brush
How to make these sweet dolls:
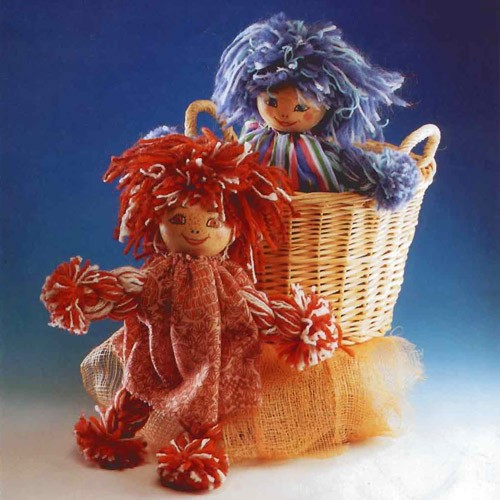
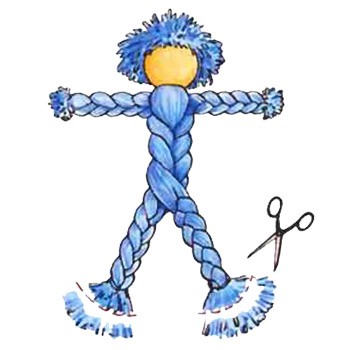
This cute rag doll would make a fabulous addition to your child's doll collection and it is easy to make using supplies you may already have around the house.
- Wrap your yarn around the board game box as shown in the diagram. Be sure you do not wrap too much but just enough to be able to go throught the wooden balls hole.
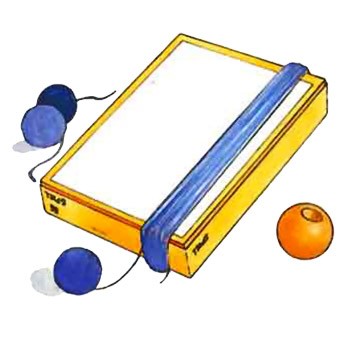
- Before removing the web off the box, attach some string securely to the one end, leaving about 8 inches on each side. Now remove the string from the box.
- Using two sides of the 8 inches of string, pass it through the hole of the ball and out the other end. The yarn should stick out of the hole about 5 inches to make the hair of the doll.
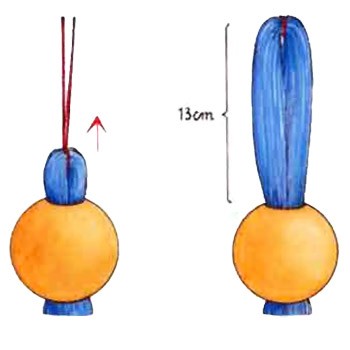
- Cut the center of the hair. Give the doll a haircut on the side of the face; let long at the back of the head.
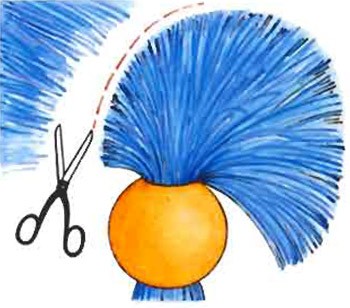
- Smear the entire perimeter of the hole with glue and glue hair.
- For the arms of the doll, wraps around the board game box layers of yarn twice as thick as that of the body.
- Gently peel away the web of the box and open it at both ends with scissors.
- Attaches a piece of yarn about 1 inch at one end and make a good solid knot.
- Divides the skein into 3 equal parts and braid the yarn to th end.
- Tie the three elements using another piece of yarn make a tight knot. The arms are finished.
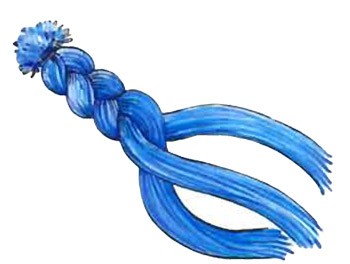
- Now to make the body of the doll cut the yarn at the end in the center.
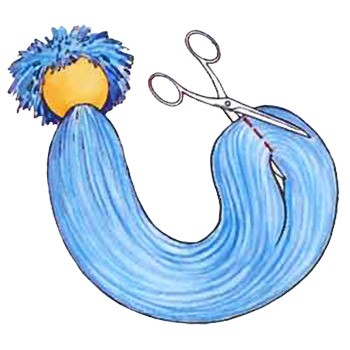
- Divides the yarn into 3 equal parts and braid.
- Braid about 3 1/2 inches for the body. Divides it into two equal parts and braid legs separately until the end of the yarn. Tie the ends of the legs with some yarn.
- For the dress, cut a strip of fabric 5 x 18 inches with zig zag scissors. Flaps the narrow ends on one another, inside out.
- Glue the edge 2 1/2 inches. The rest will be left for the arms to go through.
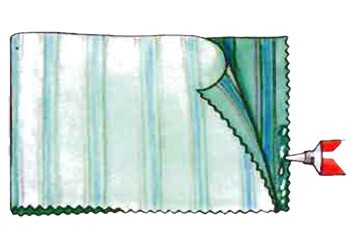
- Cutting the second armhole as follows: measures 2 1/2 inches from the bottom and make a mark. Cut an opening 2 1/2 inches with zig zag scissors rounded slightly.
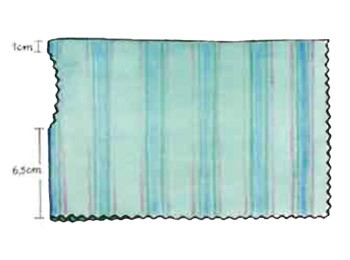
- Returns the fabric right side out. Sew thread 1/2 inch from the upper edge, all the way around leaving 4 inches of thread at each end.
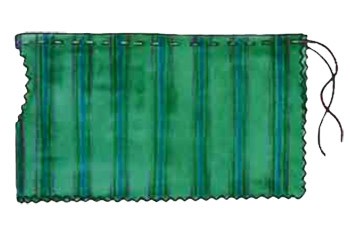
- Now dress the doll. By tightening the two ends of the wire, gather the fabric around the neck. Make a knot and cut the ends sticking out.
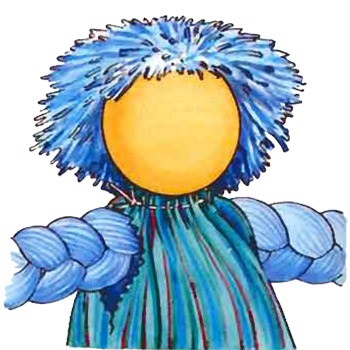
- Draw a face with paint pens on the wood.
- When the colors are dry, apply a layer of clear varnish on the face. Here is a beautiful doll made by you!


