Fish Catchers
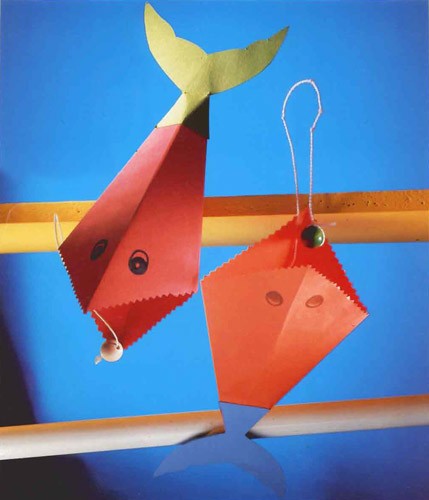
One of your friends who receives this fish catcher will have to practice to get the fish to swallow the pearl. The length of the string which is connected to the pearl bead will depend on the age of the child: shorter for toddlers, larger for older children.
What you need:
Two sheets of paper (6 x 6 inch)
Glue
Scissors - regular and toothed for zig zag cut
Pens: one brown and black
String or cord (18 inches long)
A wooden bead
Needle
Tracing paper
Pencil
A remnant of thin cardboard
How to make your Fish Catcher:
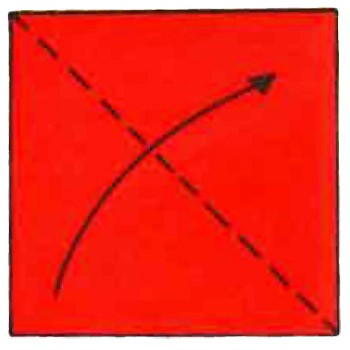
- Take one of the sheets of paper folding flaps and two opposite corners, one on the other. Smooth well to mark the crease. Then unfold the sheet.
- fold over flaps on both sides one after the other on the diagonal to form the shape of a kite or a horn.
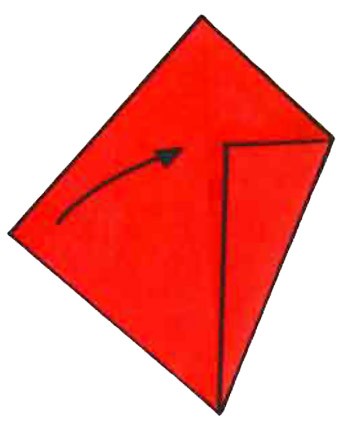
- Folding the second sheet in the same manner.
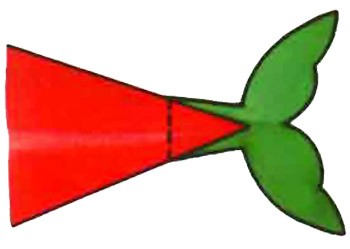
- Now sink the first "horn" in the second. Your fold should look roughly as shown below.
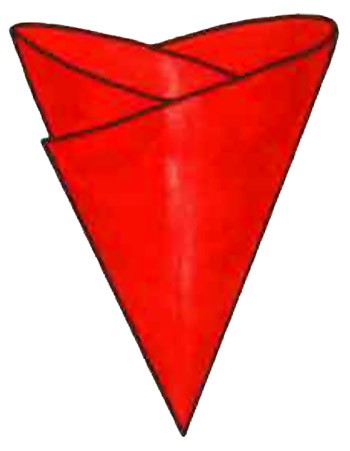
- Glue the two cones together.
- Take toothed scissors to cut open the fish (mouth) sides. Just enough so that the "teeth" are clearly visible.
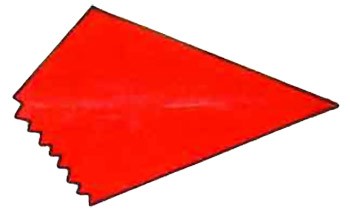
- Draw a pair of eyes at equal distance from the center crease.
- Now take a string/cord at the end of a needle and pass it in the pearl bead. Make a knot at the end of the cord so that the pearl remains in place. Then pass the needle inside the fish and the springs at the tip.
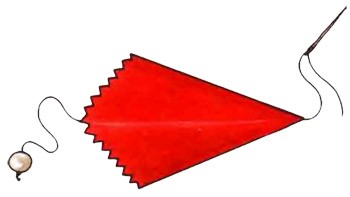
- Removes the needle. The cord will be barely visible at the end of the fish.
- Now make the tail with cardboard.
- Cut out two pieces of the tail with scissors. Then, on the tip of the fish glue on the tail of one of the halves. Glue the second half on the front, hiding the piece of string between.
The Fish Catcher is ready to eat the pearl! Take the fish by hand and press the sides slightly so that his mouth opens wide.
