Candy Cake
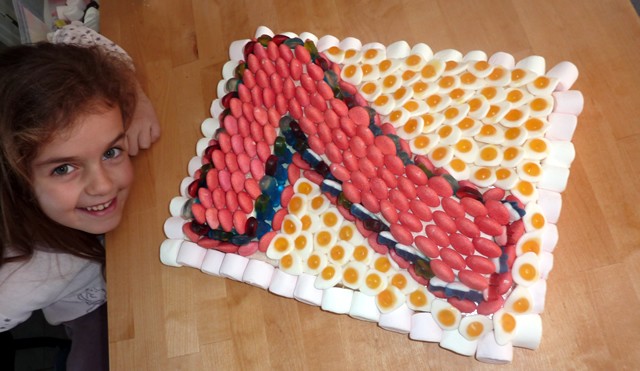
Sweet Candy Birthday Display
For your birthday this year create a birthday candy masterpiece. The special candy display is a fun way to wow your friends as they pick away the delightful treats. The candy cake is easy to do but will take some patience.
Materials needed for your Candy Cake:- Thick Foam Board
- Toothpicks
- Cellophane wrap
- Many different colored candy
- wire cutter
The amount of candy depends on the size of the cake, but to give you an indication, for the cake shown above, it took 5 bags of candy.
How to make a cake candy:- The first step is to cut two pieces of foam board. A rectangle to the base, and a second piece of another form. For our cake, we made a "7" because it is the anniversary of Sarah and she is 7 years old.
Use the templates below for the number or numbers you need for your celebration. Cut your foam boards to the desired number.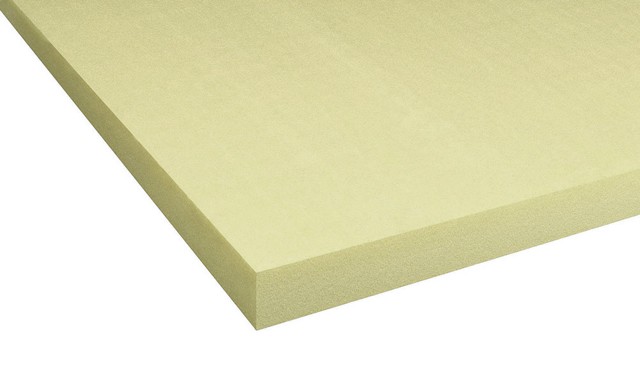
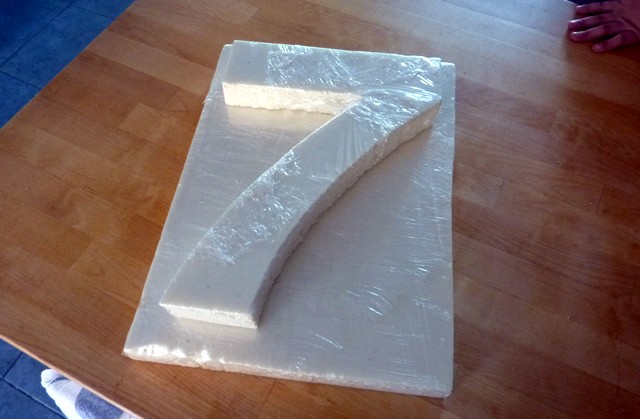
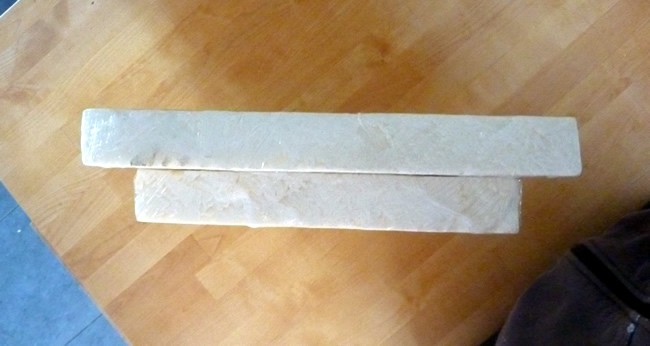
- Once you cut the 2 pieces (the rectangular plate and the figure), wrap each piece of foam board in cellophane. Do it very carefully, it is important for your candy to not come in contact with foam board. Do not hesitate to wrap the cellophane around the foam boards several times.
- Now you can assemble the 2 pieces: Laying the figure or number to the right place on the bottom foam board, placing whole toothpicks at the edge of the number and inserting diagonally to secure the number on the board. You can plant a toothpick every 1 inch.
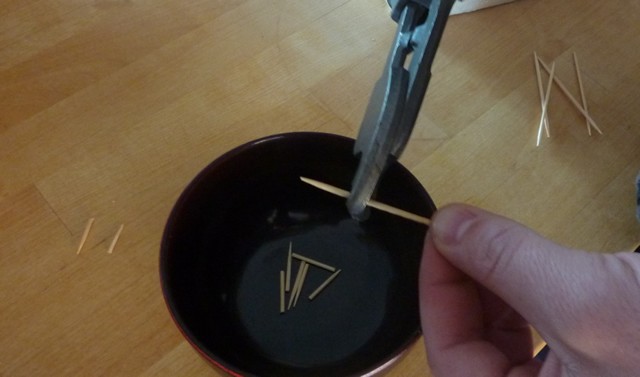
- We will now prepare the toothpicks to secure the sweets on the basis of the foam board. To attach the candies to the foam board you will need to cut the toothpick in half. You can break the toothpicks in half, but we recommend you cut them by using a wire cutter. The cut will be much sharper and you do not risk putting small pieces of wood in the candy. To save time you can cut several toothpicks at a time. It goes very fast. Gather your toothpicks in a small container.
- Take half of a toothpick and pushes the cut side into the candy. Try not to go through to the otherside of the candy but insert deep enough.
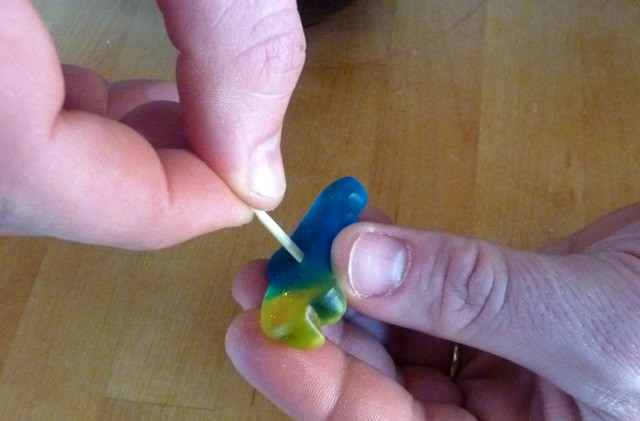
- The pointed side of the toothpick will be easier to plant in foam board.
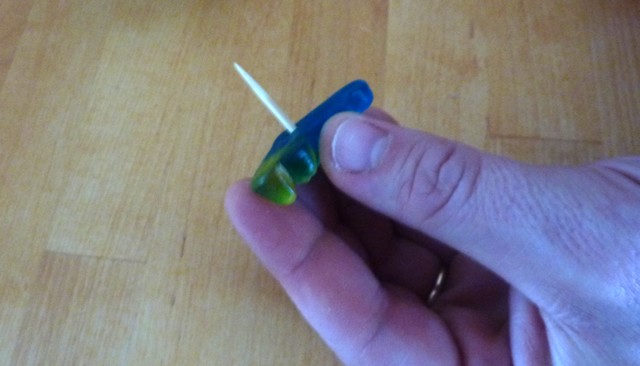
- Now we can start decorating! Try to imagine what your candy cake will look like. The most important thing is to choose contrasting colors that will allow you to bring out the relief of your cake. We chose to plant blue candy to outline the figure.
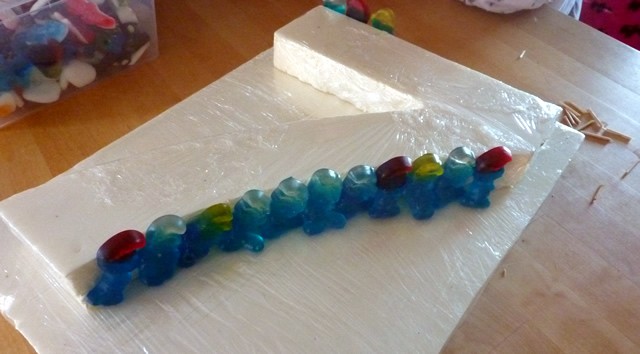
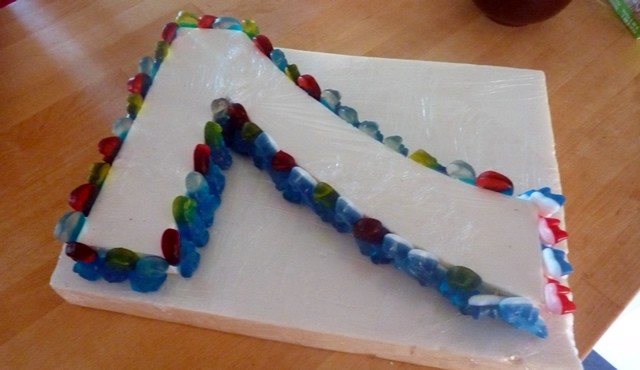
- Once the outline is finished, we decided to strengthen this contour line by a small band "strawberry candies" we planted on the bottom foam piece following the route of the blue candies.
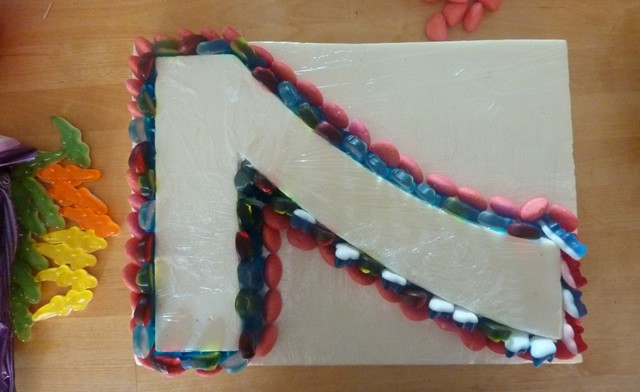
- We then covered the entire figure with strawberry candies. The idea is to use a single color for a bold presentation. (In addition to strawberries, it's good!)
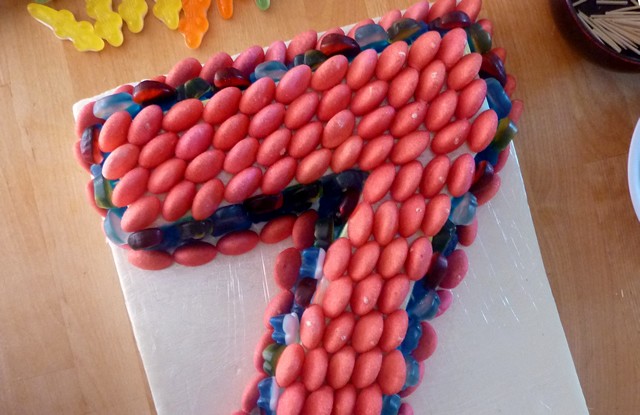
- Now we will cover the base of the cake with other sweets. We chose small egg gummies (white and yellow) so that the red candies visually stand out more.
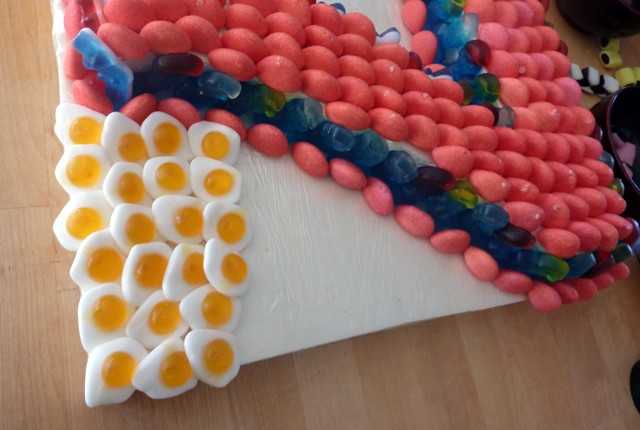
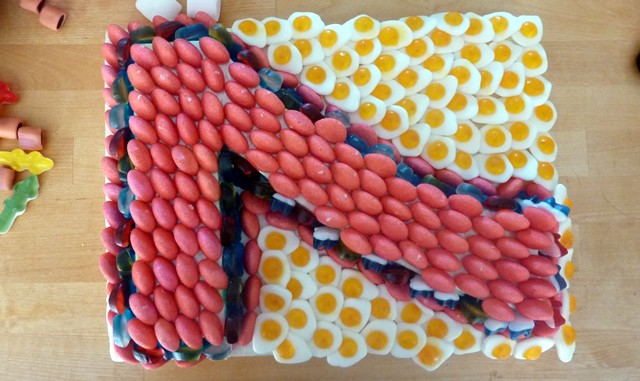
- Voila, if you wish you can stop there, but you will notice that the side of the cake is not completely filled. So we decided to add marshmallows over the entire outside rim. So we do not see any of the foam board.
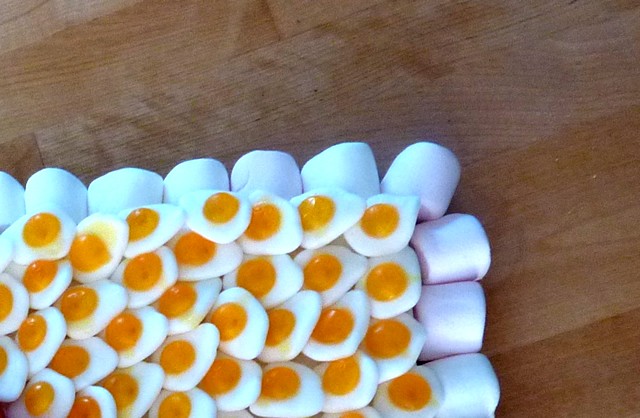
Fantastic job! Ir will be hard, when you are finished, not to want to eat it right away!
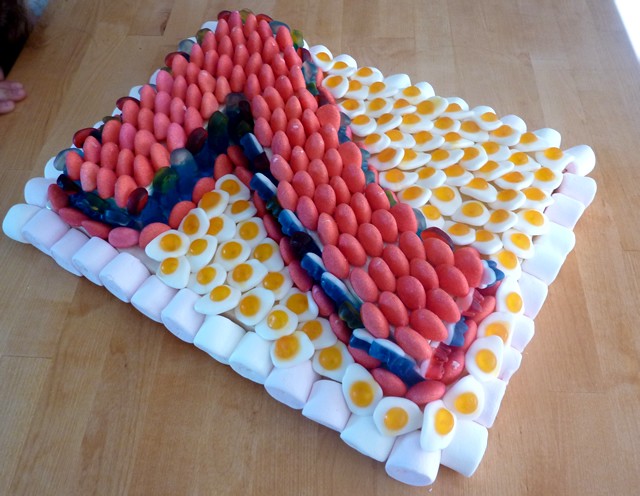
To make this cake, it took us about 3 hours.
What's great about these cakes is that you can prepare well in advance and keep them easily. In our case, we prepared a week before the birthday. We wrapped in aluminum foil and stored in a closet during the whole week.


