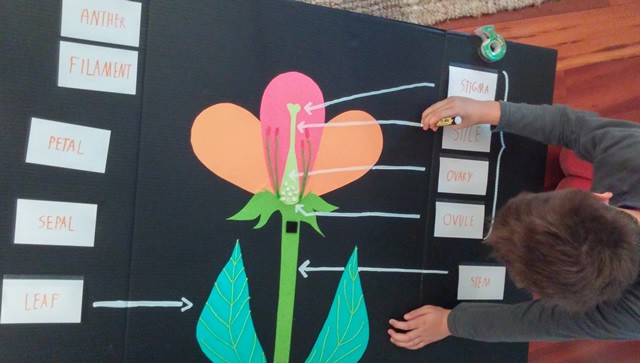
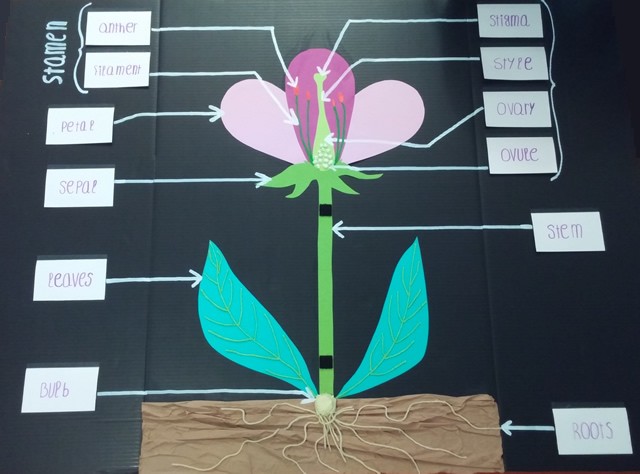
Science: Flower Anatomy 3D project
Getting an A+ for outstanding achievement in science by following this step by step 3-D flower project is within your reach.
Spring is almost here and flowers are blooming, it's the perfect time to make a flower anatomy 3D project. By constructing a three-dimensional flower and labeling all the parts, children will learn a lot about flower anatomy. With the step by step instructions your child will be able to create this assignment and bring back a wonderful science project to school.
Find inspiration with an example of paper Flower anatomy 3-D model that can be created easily without being an artist and even without parents help.
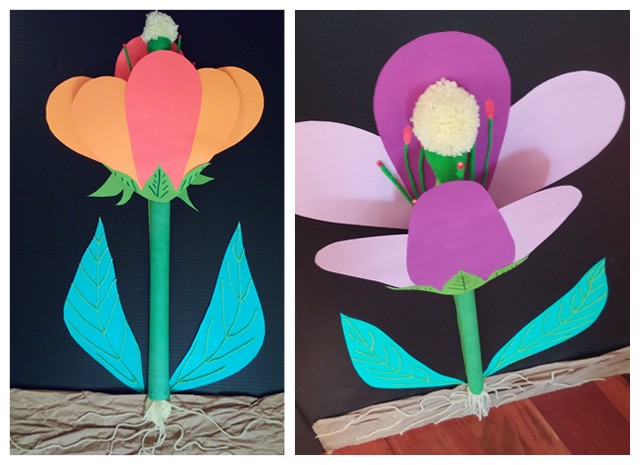
Purpose of flower anatomy 3D science project
- Create your own 3D flower model using various materiels such as construction paper, pipe cleaners, cardboard, tissues paper, felt... and BE CREATIVE!
- Label all the anatomy parts of the flower (must include all male and female parts).
- Write a description below each labeled part of the flower (at least one or two sentences).
Things needed:
First of all try to respect the instructions and find recycled supplies from your house to make your assignment 3D. For this project, we have found everything in the house.
- Science board
- colored construction paper (green for leaves, sepal and stem, light green for ovary and other colors for the petals.
- woollen threads (green and light yellow)
- roll of paper towel
- Tissue paper
- silk paper
- 4 red perler beads
- 8 bamboo skewers
- 5 small velcro pads
- packing paper
- cotton
- white school glue
- white, dark green markers
- 12 index cards
- tape
Design the 2D parts of the flower first
- Choose the color you prefer for the petals of the flower and start by drawing a big oval per sheet and cut it. You will need to cut 3 similar ovals.
- Take the light green construction paper sheet and draw and cut the ovary. Check that the size is big enough to paste ovules after.
- Draw and cut four small red ovals for the anthers and cut 4 woollen threads (from 3 to 4 inches each).
- Then draw and cut the sepal on a green construction paper sheet. Also draw the stem as long as you can, you will resize it after.
- Afterward, draw two big leaves and cut them. Then, draw grooves on each leaf using white school glue. Take light green woollen thread and gently paste it on grooves you've just designed and let dry.
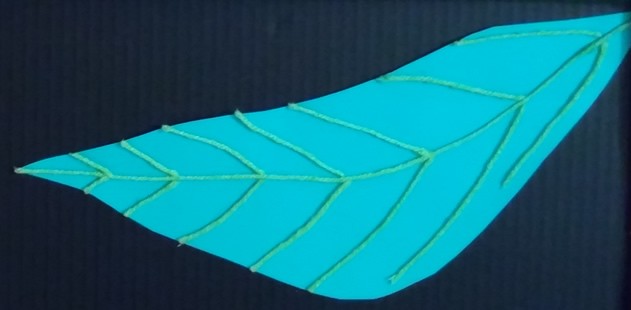
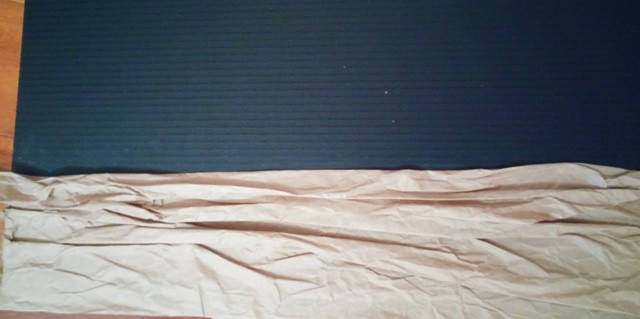
- Then, use the packing paper for the underground. Take you board and position the paper at the bottom. Glue it and let dry. Packing paper is usually pleated, take advantage of these pleats to create a 3D effect as shown on the picture below.
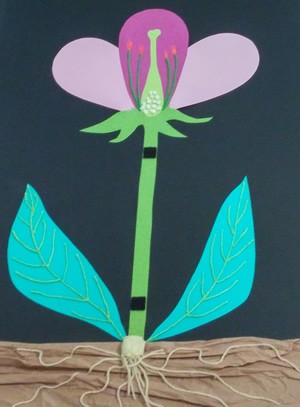
- Now, it's time to put together all the parts of the flower. Position stem first, then sepal, then petals and finally center the ovary. Adjust each parts of the flower and glue them.
- Add anthers and filaments around the ovary: draw the lines using white school glue and paste the 4 green wool threads and 4 red small ovals.
- Now, make the bulb: Crumple a light yellow silk paper sheet and tie some yellow woollen threads around your paper ball and glue it at the bottom of the stem.
- Create roots: draw long curved lines from the bulb using the white glue and then gently paste wool threads.
- Make ovules: use your finger to roll up small pieces of cotton and paste your balls into the ovary.
Your 2-D flower part is done!
3-D flower with recycled materials
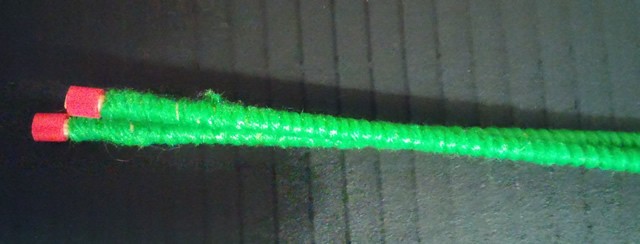
- Start to create 4 anthers and filaments. Thread red perler bead at the top of the skewer and then wrap green woollen thread around.
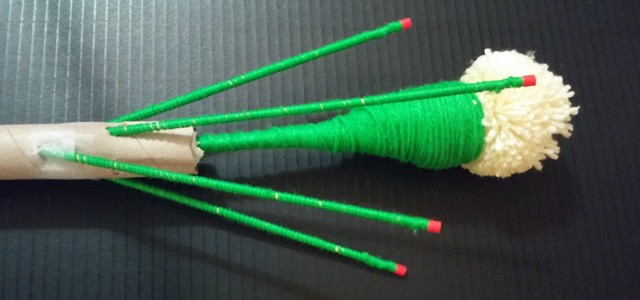
- Make the stigma. To give volume to the stigma, make a yarn pompom.
- Then create the style and ovary using 4 bamboo skewers, attach the pompom at the bottom, add crumple paper underneath and wrap green woollen thread around.
- Now make the 3-D stem: take roll of paper towel, position the stigma into the tube and fix filaments as show on the picture below and paste green silk paper on the paper roll.
- Then, cut another 3 petals, one big oval per sheet and cut it. You will need to cut 3 similar ovals. Cut sepal as well in green construction paper and draw grooves with dark green marker. Paste all the parts together.
- Position 2 sticky velcro pads on the stem and gently paste the petal parts.
- Position 2 other sticky velcro pads on the stem (board part) and gently paste your 3-D flower. AMAZING 3-D flower project!!!
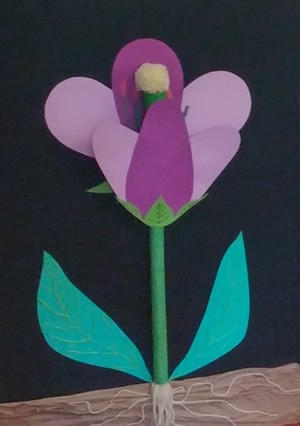
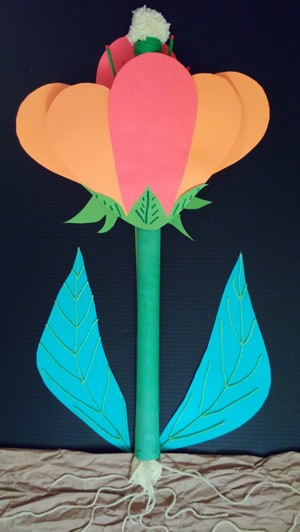
Label 3-D flower parts
It's time to label your flower. In our example we've decided to use the lateral parts of the board to label the flower in order to have clear overview of information and make it easy to read. Here comes the definitions for each part of the flower:
-
STAMEN: Male reproductive organs of the flower
- ANTHER - contains the pollen, is the tip of a flower's stamen.
- FILAMENT - holds the anther.
-
PISTIL: Female reproductive organs and tissues of the plant
- STIGMA - receives the male pollen grains during fertilization, when they travel through the style to the ovary.
- STYLE - is a long tube on top of the ovary, and below the stigma.
- OVARY - produces and contains ovules. It is at the base of the pistil.
- OVULES - egg cells
- PETAL - is often brightly-colored and have many different shapes that attracts insects and other pollinators.
- SEPAL - sepals are small leaves located directly under a flower, they hold the flower head and join it to the stem.
- STEM - holds the plant.
- LEAF - converts energy from sunlight into food for the plant.
- BULB - stores food and water for the flower. like the fridge!
- ROOTS - grows underground, brings food, water and energy to the bulb, and provides support for the plant.
Now, your 3-D flower project is almost finished. However, at this step, pay lots of attention, label the flower properly.
- Take 12 index cards and your most beautiful marker, then start to write the name of each flower part in big letters. Once done, turn the cards over (from the bottom to the top!!!! very important) and write the corresponding description.
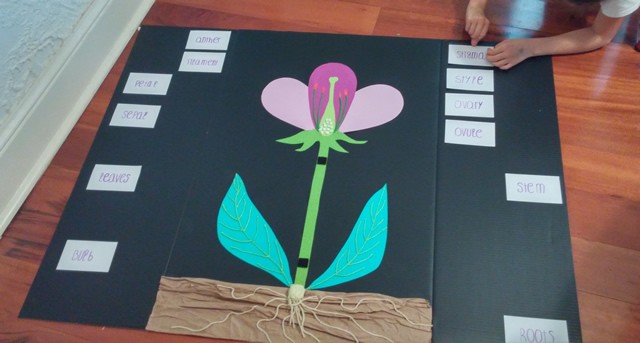
- After that, position your labels on the board (name in big letters face up and description face down) and tape only the bottom part. Make sure you've written the description in the right direction, lift the index card to be sure. Repeat this step with all index cards
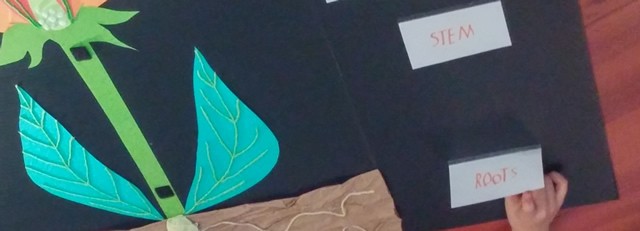
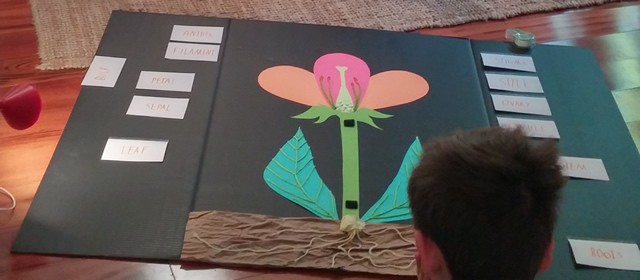
- Finally, using a white marker, draw the lines between labels and flower parts. Be sure to make it clear. You can also add some more information with your marker like writing male and female reproductive organs using brackets and add all additional information you consider necessary. Your project is finished and you really did it good.
