Tissue box Monster
Error loading media: File could not be played
00:0000:0000:00
00:00
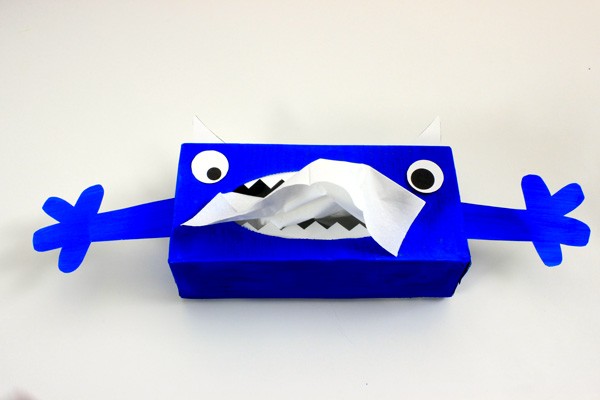
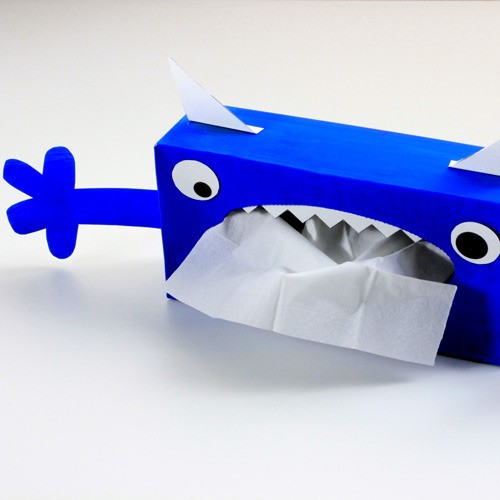
Here is a little tutorial to customize your tissue boxes. Make it a little monster!
Necessary materials
- A cardboard tissue box
- The monster template below
- Paint
- Scissors
- Liquid glue
- Adhesive paste (like Blu-tack)
How to make this tissue box monster
- Print the monster template available at the bottom of the tutorial.
- Start by painting the box, and the arms on the template.
- Cut up the arms, the teeth, the eyes, and the horns on the template.
- Fold the horns on the dotted lines, and stick these folds on the top of the box.
- Fold the arms on the dotted lines, and stick them on the sides of the box.
- Now, for the teeth, glue the sides of the stripes inside the box. Make sure that you can see the tips of the teeth at the bottom, and at the top of the mouth.
- Stick the eyes with adhesive paste on the front of the box.
Now you're done! You can open the bottom of the box to fill it up with a bunch of tissues. You will then be able to pick one from the mouth of the monster when you need it.
Moreover, you can change the appearance of the monster by moving the eyes everyday!


