A Guitar Can
This tutorial will teach you how to make your own little guitar with just a can and it is super easy!
Necessary materials
- A tin can
- 6 rubber bands
- A sheet of strong paper
- Adhesive tape
- Scissors
- A ruler
- A pencil
How to make this tin can guitar
- Put the can onto the sheet of paper.
- Make a point on the paper where the bottom of the can reaches.
- Roll the can on the side, and make another point.
- Now you can draw a line between those two points, and cut the sheet of paper along it.
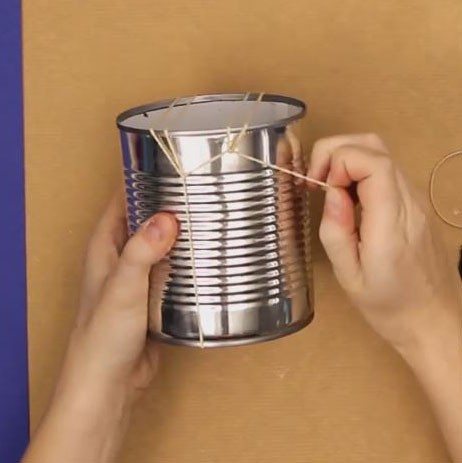
- Put two rubber bands around the can lengthwise.
- Put a third rubber band around the box, widthwise, around the two first rubber bands.
- Hold the top of the first rubber band tight and pull it back over the top of the can.
- Start over with the second rubber band.
- The third one must have gone to the top of the can. Pull it back over to the bottom of the box.
- Watch the video, and look at the picture below to understand. You can ask an adult to help you. Everything must be straight, and tight.

- You can adjust them so that they are properly separated.
- Put one last rubber band around the can, at the bottom to help maintain everything securely.
- Roll up the can into the piece of paper you first cut, and stick it to the box with adhesive tape.
- Ask an adult to cut the sheet of paper if it is still to big.
Now you just need to decorate the can, and play music with it plucking the rubber bands!
The can is the sound box, and the rubber bands are the strings.


