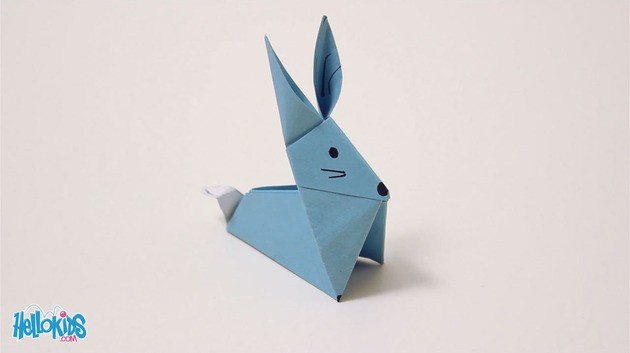
Origami rabbit
In this tutorial, we are going to teach you how to make a very cute origami rabbit! Read the steps and watch the vidéo, soon you will have a full family of rabbits!
Necessary materials
- A square piece of paper
Steps to make an Origami Rabbit
- Fold your piece of paper horizontally and vertically. Open it again.
- Turn it over, and fold it on both diagonals. Open it again.
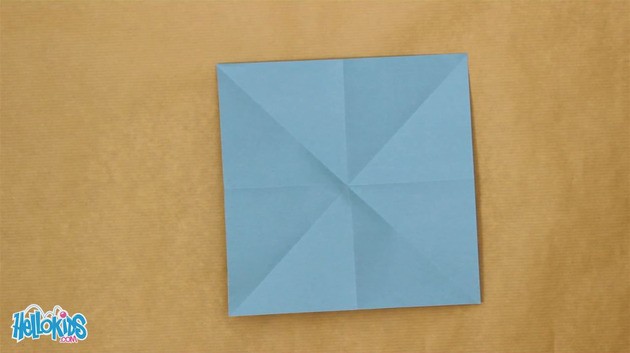
- Turn it over again, pull together two opposite corners, flatten, and you should have a square.
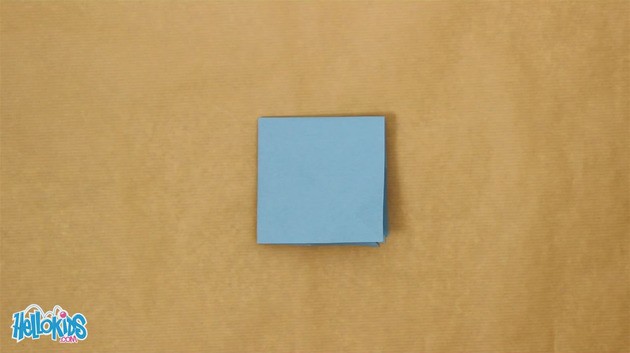
- The open corner must be in front of you. Fold both sides to the top, along the middle line.
- Fold the top corner to the bottom.
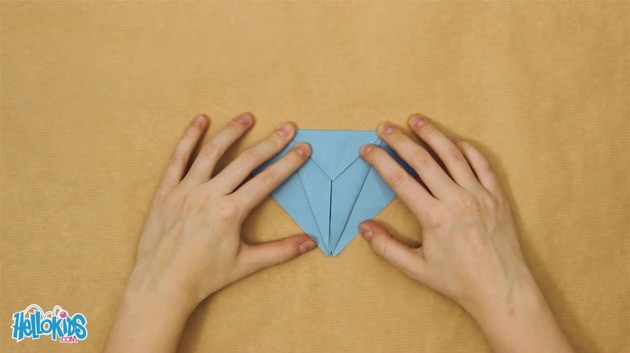
- Unfold these last 3 folds to have a square again.
- Pull the upper layer of the square to the top, flatten carefuly to get a diamond above a square.
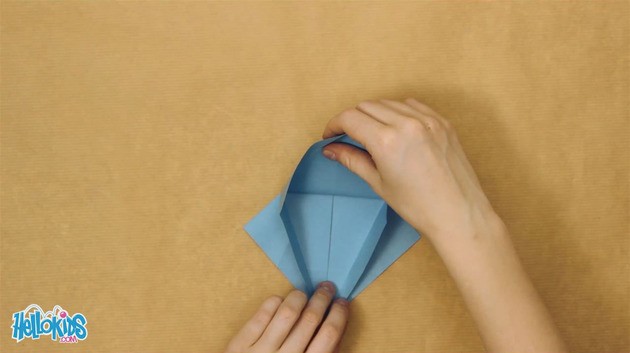
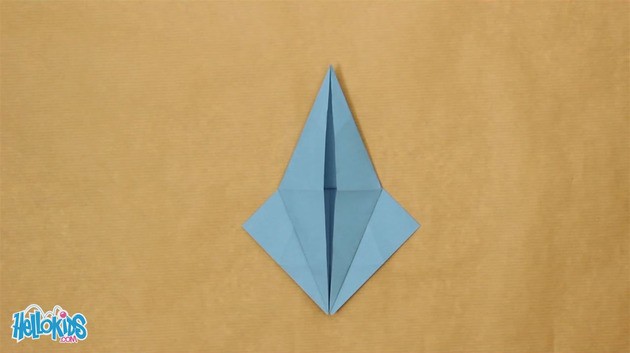
- Turn over the origami and fold up the upper layer of the bottom corner.
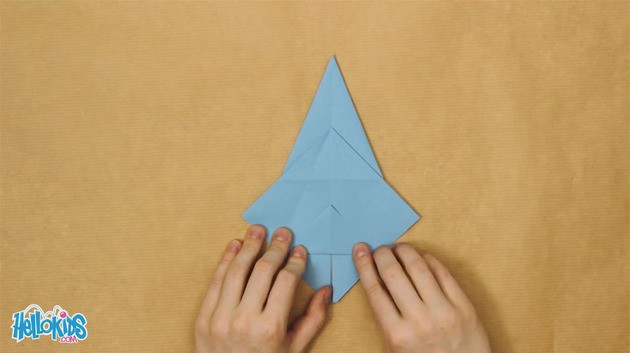
- Turn over the origami again and now, fold what's left of the square along the middle line, so you just have a diamond.
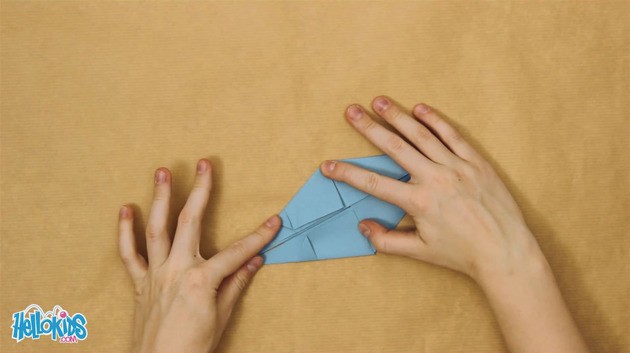
- Now, fold up more than half of the lower half of the origami.
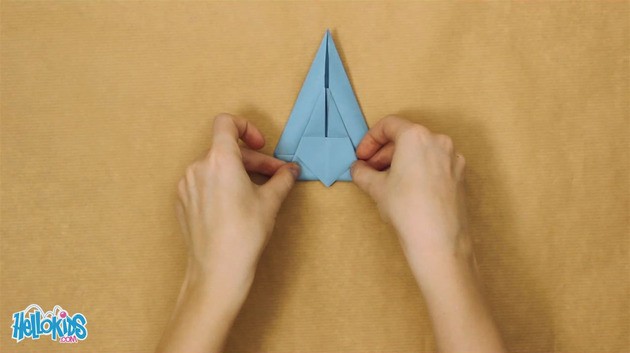
- Fold the origami in half along the middle line.
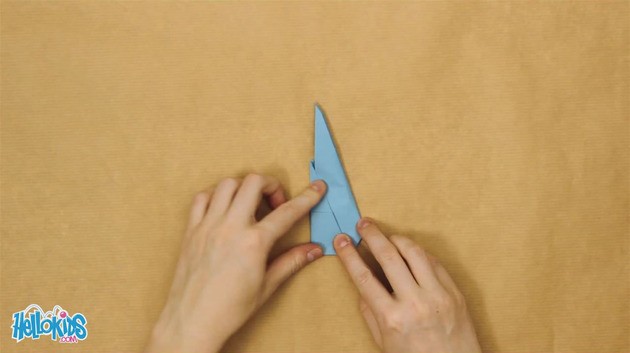
- Pull up the upper part of the origami.
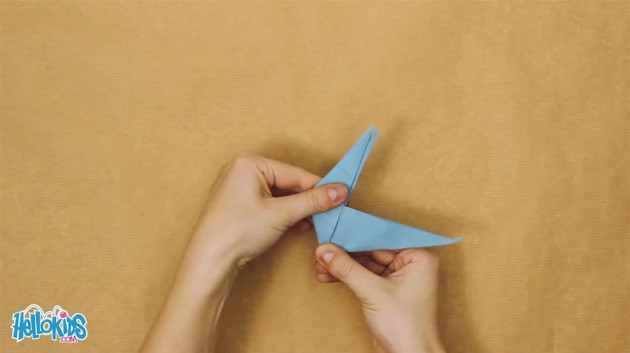
- Now you can see the rabbit is almost finished. Open the two slit on the top to make the ears.
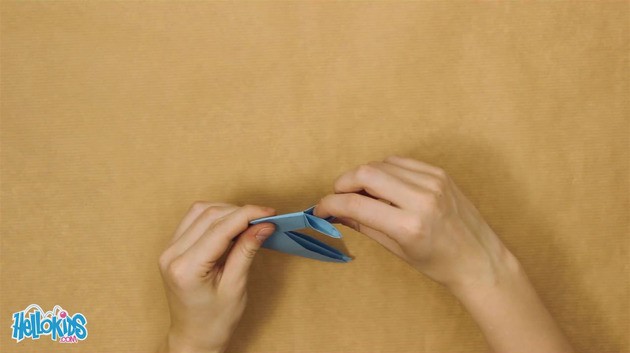
- Fold the little part opposite to the head into a zigzag to make the tail.
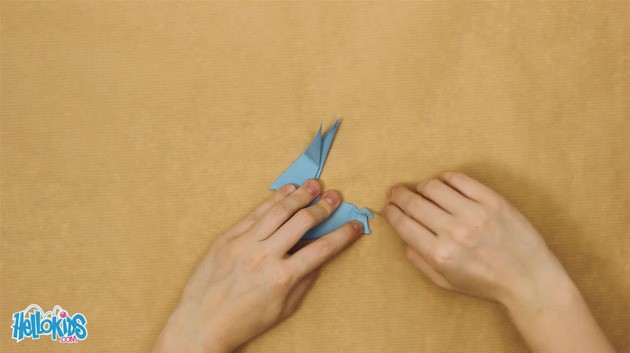
There it is! Your little rabbit. Draw the eyes and a nose, and it will be even more realistic. You can even paint its tail in white!
