DIY Picture Frames
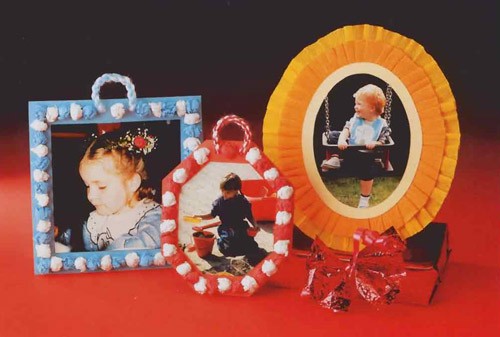
What you need to realize these beautiful frames
- Different photos
- White cardstock paper
- Pencil
- Ruler
- Scissors
- Cardboard for photo frame
- Crepe paper
- String, yarn or ribbon
- Glue
- A hole punch
How to make these photo frames:
- Print the template of different shaped frames on cardstock paper.
- Choose a picture you would like to frame and the shape of frame you would like to make for your picture.
- Cut out the frame shape you have chosen.
- Place the photo upside down against a light source. Place the small cardstock of white paper against it and leave it all on the table, ensuring that the picture does not shift.
- Then trace the frame pattern and cut the image to the desired shape.
- Glue the picture to the Cardstock picture frame shape.
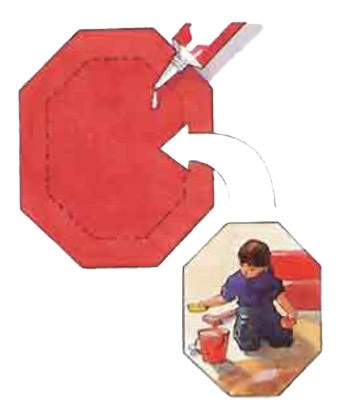
Decorating your Frame!
Crepe Paper Rosettes
- To hang the photo frame punch two holes at the top of the frame about 1 inch apart.
- Choose a crepe paper color or colors to match your frame. Cut pieces of about 2 x 2 inches and rolls them into a ball by squeezing very hard.
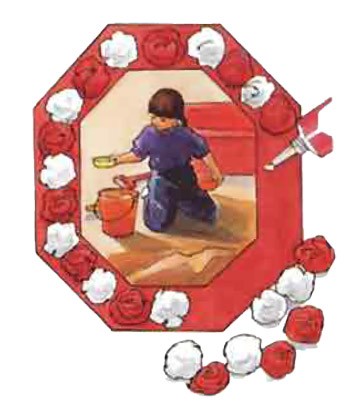
- Glue these crepe paper balls next to each other over the entire periphery of the frame.
- Now how to hang it! With the string, yarn or ribbon cut 3 pieces about 18 inches long. Braid the string.
- Finally, pass the braided string through one of the holes and secure with a knot. With the other end of the string pass it throught the other hole and tie a knot. The frame is ready, you just need to wrap it and deliver!
Crepe Paper Oval Frame
- Cut out the pattern using strong cardboard..
- Take two strips of different widths of crepe paper: 1 x 40 inches and 2 x 40 inches (one may be slightly darker than the other).
- Glue the widest part around the paper and then the smaller one (see picture)
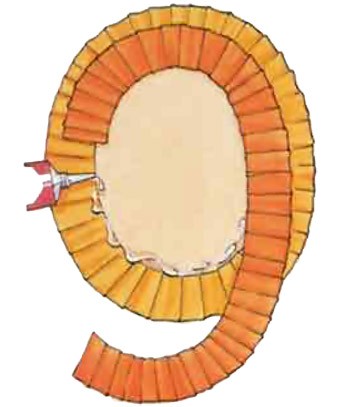
- paste your photo in the center.
- Frame it.


