Graduation Cap
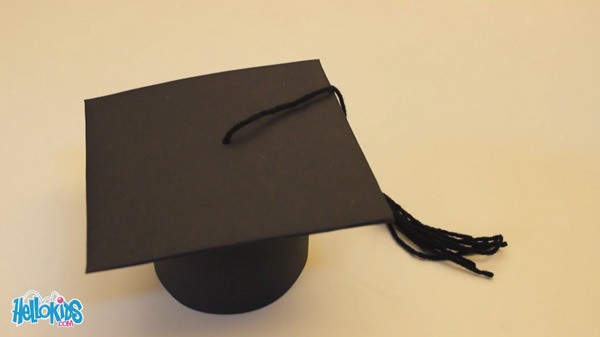
Summer is coming and with it, the end of school celebrations and graduations. Whether you are graduating from Pre-school, Kindergarten, High School or College, you will need the perfect and appropriate hat for just this occasion. Celebrate your achievement and make your own graduate cap. We are going to show you how to make this graduation cap essential very easily.
Necessary materials
- A square piece of cardboard
- Two black sheet of cardstock paper
- Black yarn
- Scissors
- Box cutter
- Glue
- Adhesive tape
- Pen
How to make a graduation cap
- Wrap the square piece of carboard into one of the two black sheet of cardstock, and fix it with adhesive tape.
- Cut into half and lenghtwise the other black sheet of paper.
- Roll up one half and fix the ends with adhesive tape.
- Cut strips on the side of the roll and less of half its width long.
- Fold these strips and glue them to the black square you made (on the side of the adhesive tape) by making a circle with the roll.
- Make a hole at the center of the square with the box cutter and make it a bit bigger with the pen.
- Cut about ten pieces of yarn 2 inches long.
- Cut another piece of yarn a bit bigger than the square.
- With another small piece of yarn, tie the 2 inch long pieces of wool to one end of the long piece of yarn.
- Pass the other end through the hole and make a knot inside the hat. Pull it on the exterior until the knot is stuck.
There is your cap. If you made it big enough you can even wear it! If not, you can give it to one of your dolls, teddy bears, or make it for someone else!


