Cardboard dragon
Error loading media: File could not be played
00:0000:0000:00
00:00
In this tutorial, you will learn how to make a jointed dragon. Watch the video carefuly, read the steps, and you will soon have a new dragon toy!
Necessary materials
- 4 brass fasteners/brads
- Cardboard
- Printed template below
- Scissors
- Glue
- Paint
- A black felt-tip
How to make this dragon?
- Print a template by clicking the button down the page.
- Cut up 4 rectangular pieces of cardboard using the rectangle of the template.
- Ask an adult to make holes in them where's there is a circle with the drawing pin.
- Cut up the head of the dragon into carboard using the two pieces left of the template.
- Paint all the pieces of cardboard, and don't forget to draw an eye!
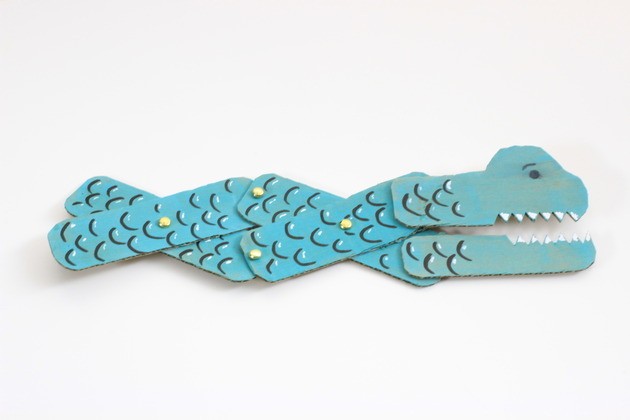
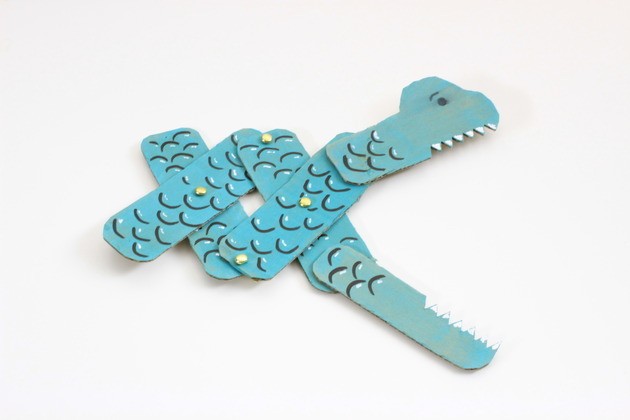
- Now, you have to assemble all the pieces using the brass fasteners. Watch the video, and look at the pictures.
- Put together two rectangles by their middles.
- Then, on one end of each of these rectangles, fasten another rectangle by its end.
- Now, you have to fasten these two last rectangles by their middles.
- On each ends of these, glue the two pieces of carboard forming the head. Make sure the teeth are aligned when the dragon is elongated.
You're done ! Now, you can decorate your dragon. In the video we drew scales.
You can also make it longer by adding some more rectangles at the back!


