Perler Beads - Fusible Beads
Let the fun begin with Perler Beads! Perler beads is a top manufacturer for plastic fusible beads. Other brands you may know are Hama beads or Nabbi beads. Crafting with Perler beads is a fun and inexpensive art form inspiring creativity. These colorful beads are usually arranged on plastic pegboards to form patterns and then fused together with a clothes iron. They can also be strung into necklaces, woven into keychains, or even assembled into three-dimensional decorations using beads that come in different sizes, solid colors, translucent colors, glitter colors and glow-in-the-dark hues. This art project is a fun way to spend time together as a family, birthday parties or on a rainy day. You will never be bored with Perler Beads and the endless projects you can create.
Benefits for Kids:
Perler Iron bead crafting can also help young children develop hand-eye coordination skills, learn names of colors, basic math skills, fine-tune motor skills, developing creativity and concentration levels. The endless design possibilities you can make with perler beads to make beautiful designs will reward the time and effort that you spend.
"An Occupational Therapist's Dream Activity"
~Mary, Pediatric Occupational Therapist from NY
A high-stimulation learning environment, grounded in what they enjoy and can succeed in
- Perfect "focusing" activity
- Inexpensive for parents
- Appropriate for any age
- A finished end product to be proud of!
Fun perler bead ideas:
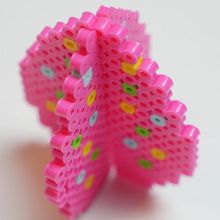
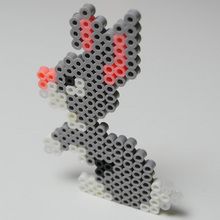
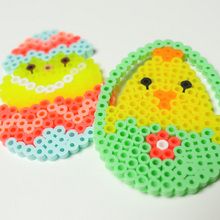
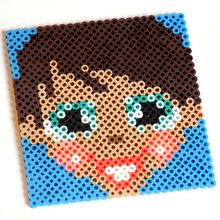
There are many fun projects to make with perler beads: key chains, magnets, Jewelry (earrings, rings, necklesses, bracelets), hairclips, pictures, desk figures (animals, superheroes, etc.), bowls, suncatchers and 3D models. Don't forget that these fusion fun projects make great gifts for Christmas, Valentine's Day, Mother's Day and Halloween, just to name a few.
Materials Needed:
- Pegboard
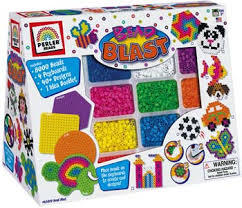
- Beads
- Pattern or desin you want to make
- Ironing paper, wax paper or parchment paper
- Clothing Iron (no water)
- Toothpick or tweezers (to help place the beads if needed)
- Heavy book (this helps to even out the surface after you are done ironing)
Making a Perler Bead creation is easy to do by following these simple steps:
- Choose your pegboard - there are different shapes and size pegboards for you to choose depending on your project.
- Choose your bead colors
- Choose a flat surface and place the selected beads on the pegboard spikes, following the pattern you are creating.
- Fusing the beads - This step is to be done by an adult*: Preheat a dry household iron (no water) to the medium setting. When carrying the bead design to the iron, be careful not to tip or bump the beads from the peg board! Cover the beads with the ironing paper. Keeping the iron level, gently iron the beads in a circular motion for about 10 seconds** to fuse the beads evenly. When ironed properly, the beads will still have an open center. If you are working on a 3-D project, DO NOT OVER-IRON the beads as it will make the centers of the beads close and can make assembly more challenging.
- Place a heavy flat book on top. Once the design is cool, slowly peel off the ironing paper. Lift your design from the pegboard and flip the design over onto your ironing surface. Cover it with the ironing paper and iron the other side to fuse it evenly. Your pegboard and ironing paper are reusable.
- Finished - You now have a creatively beautiful piece of art.


